
In this lesson we will learn to scroll a background that loops for a continuous appearance. Here we will use stars in a space environment.
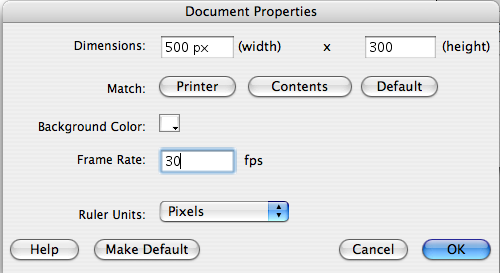
Step 1. After opening up a new Flash movie, from the Modify menu, select "Document".

Step 2. Make your document/movie 500 pixels (px) wide by 300 pixels tall. Also, set the Frame Rate to 30.
Step 3. From the Insert menu, select "New Symbol".

Step 4. Name it "star" and make sure the radial button next to Graphic is selected as a Behavior.

Step 5. You can either use the Polygon Tool or the Pen Tool to create this basic star shape.

Step 6. Now navigate back to Scene 1. You can do that by clicking either the left arrow or the text "Scene 1" which appears directly below the Timeline.
![]()
Step 7. From the Insert menu, select "New Symbol".

Step 8. Name this new symbol "space_1" and select "Graphic" as a Behavior.

Step 9. Using your Rectangle Tool, create a rectangle with a black fill and no stroke. Right now the layer we are working on is called "Layer 1" by default.

Step 10. Select the black rectangle using your Selection Tool (black arrow, top left in the Tool Pallete). Down in your Properties panel, set the width to 500px and the height to 300px, also set the x and y coordinates to 0.

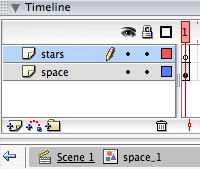
Step 11. Now change the name of this layer from "Layer 1" to "space". Create another layer and name it "stars".
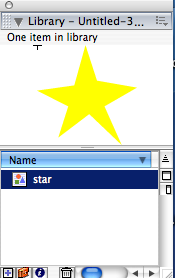
Step 12. Open up your Library panel and drag the star graphic onto the stage. Be sure to be in the "stars" layer.
Step 13. Using the Transform pallete, you can make some stars smaller or larger than others, See how I have the "Constrain" option selected, that keeps the star proportionate, you will scal both the height and width equally.
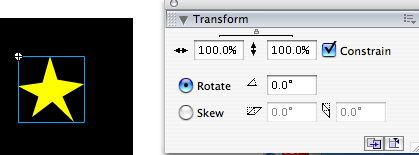
Step 14. It should look something like this.

Step 15. Now navigate back to Scene 1.
![]()
Step 16. From the Insert menu, select "New Symbol".

Step 17. Name this new symbol "background" and be certain that MovieClip is selected as the Behavior.

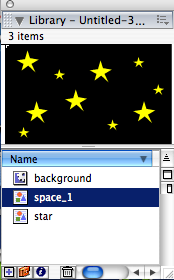
Step 18. Your Library should look similar to this.
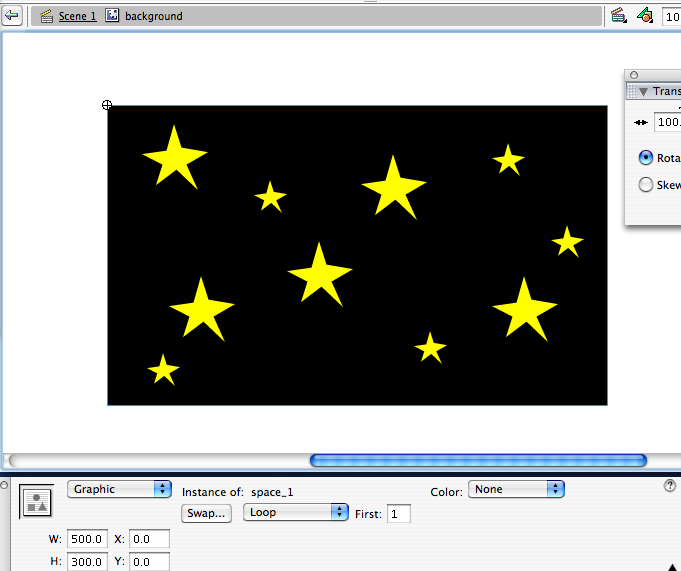
Step 19. Now drag an instance of "space_1" onto the stage inside of the "background" movie clip. Set its x and y coordinates to 0.
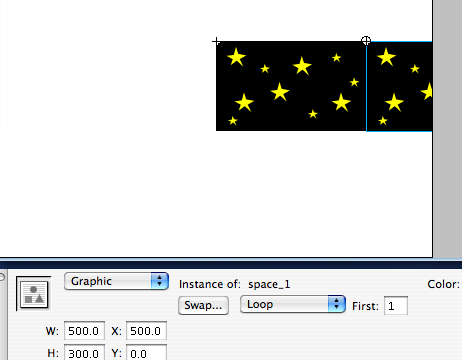
Step 20. Now drag another instance of "space_1" ono the stage and position the x coordinate at 500, and the y coordinate at 0, so it sits directly to the right of the first instance we dragged onto the stage.
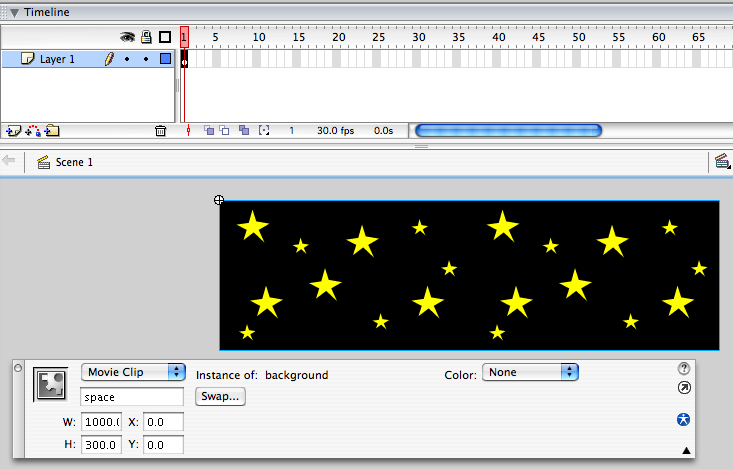
Step 21. Navigate back to Scene 1, and drag an instance of "background" onto the stage. Se the x and y position to 0. I also named the instance in the Properties panel, i called it "space".
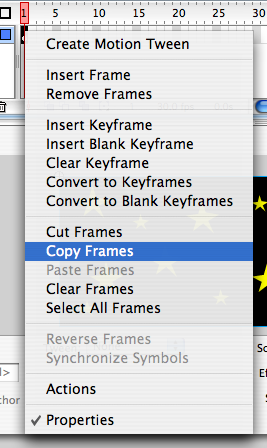
Step 22. Now select frame 1 on the Timeline, right-click and select "Copy Frames".
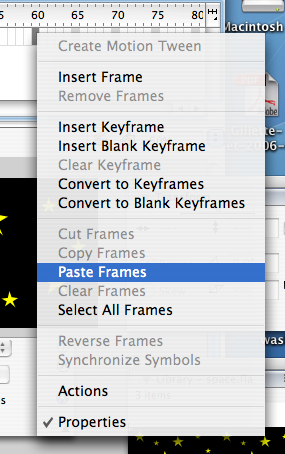
Step 23. Now right-click on frame 60, and select "Paste Frames".
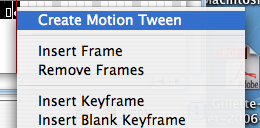
Step 24. Now select both frame 1 and frame 60. You can do this by clicking on one of those frames, then while holding down Shift, click on the other frame. Now, right-click and select "Create Motion Tween".
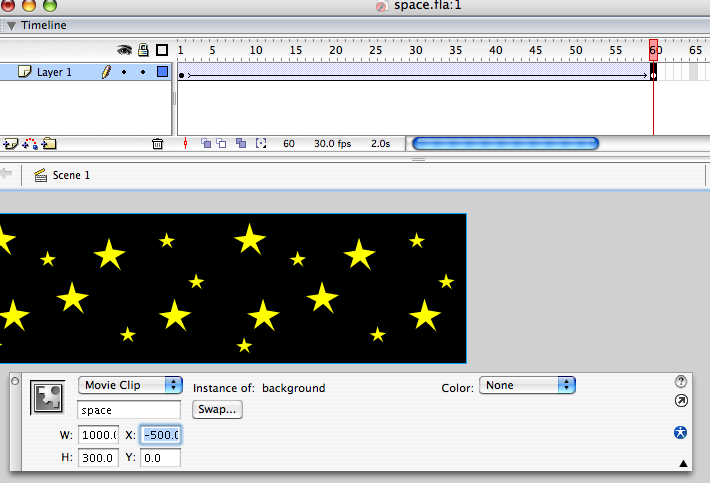
Step 25. While in frame 60, set the instance of "background (space) to have an x position of -500. At this point if you test your movie by hiting Control and Enter at the same time, your space scene should loop smoothly.
The finished product:
You can download the source file here.